Sunday, May 29, 2011

Life is a Dance!

I so love Mo Manning's digital artwork! Her images always make me giggle!!  This one is called "Mummu and Me."  Just look at their faces; what joy!!  The sentiment is from Paulette at Create with TLC.  I colored the image using some Copics and colored pencils as well.  I distressed the edges of the image background using Ranger ink:  Antique Linen.  The paper is Pyrus from Basic Grey.  The flowers were hand cut from the same paper, then embellished with golden rhinestones.

Thanks for looking and for any comments you leave.  I so love hearing from you!!  I pray your weekend has been spent doing something you enjoy.  xoxo <3  Marilou

Thursday, May 26, 2011

Sweet Innocense

Another 6" x 6" card made with a  Sugar Nellie image, and colored with my Copics Markers.  She's so adorable and innocent looking, isn't she?  After I colored this lovely girl, I punched the corners with one of my Fiskar corner punches, added pink half pearls, then mounted on pink card stock.  The papers I used are from DCWV, the Stack III.  I tucked the edge of a lace paper napkin (I've had them for eons!) from Artifacts, Vintage Collection, on the edge of my image, then added a pink bow.  I finished the card up with 3 coordinating pink flowers form Hero Arts and larger pink half pearls.  It's another of my much loved girly cards!!  LOL


Thank you for stopping in to see my post.  I hope you have a wonderful day!!  Thank you for all your wonderful comments on my cards.  xoxo 

Wednesday, May 25, 2011

Vintage Silhouette


I made something different (for me) last night.  It's a fold over card.  I started by cutting my orchid colored card stock at 11" x 5 1/2."  I scored it at 2" and 7 1/2."  When folded, the card will be 5 1/2" T x 5 1/2" W.


In my graphics program (MS DIP 10) I combined a lovely vintage silhouette from Floppy Latte's Digital Designs and a gorgeous vintage frame from Scrap-a-licious-times (many of them and all freebies)!!  I printed, then mounted them on the same colored card stock I used for my card and cut out around it leaving just a bit of an edge.  I colored and shading with my Copics Markers.  With my new Big Shot, white card stock, and my friend Melanies Cuttlebug "Polka Dots" embossing folder I made the "dotted" background.  This was glued to a piece of black card stock for contrast then glued to my card.  I glued my vintage image on the center front of my card and added a couple of black half pearls, a  gem in the middle of the largest flower on her bonnet, and some glitter, cuz you know I love glitz!!  :)  Voila!!  I think I like it!!


Thanks for taking a peak!!  I hope you'll come back to play another day!!  God Bless you!!  xoxo <3

Monday, May 23, 2011

You're the Best!!

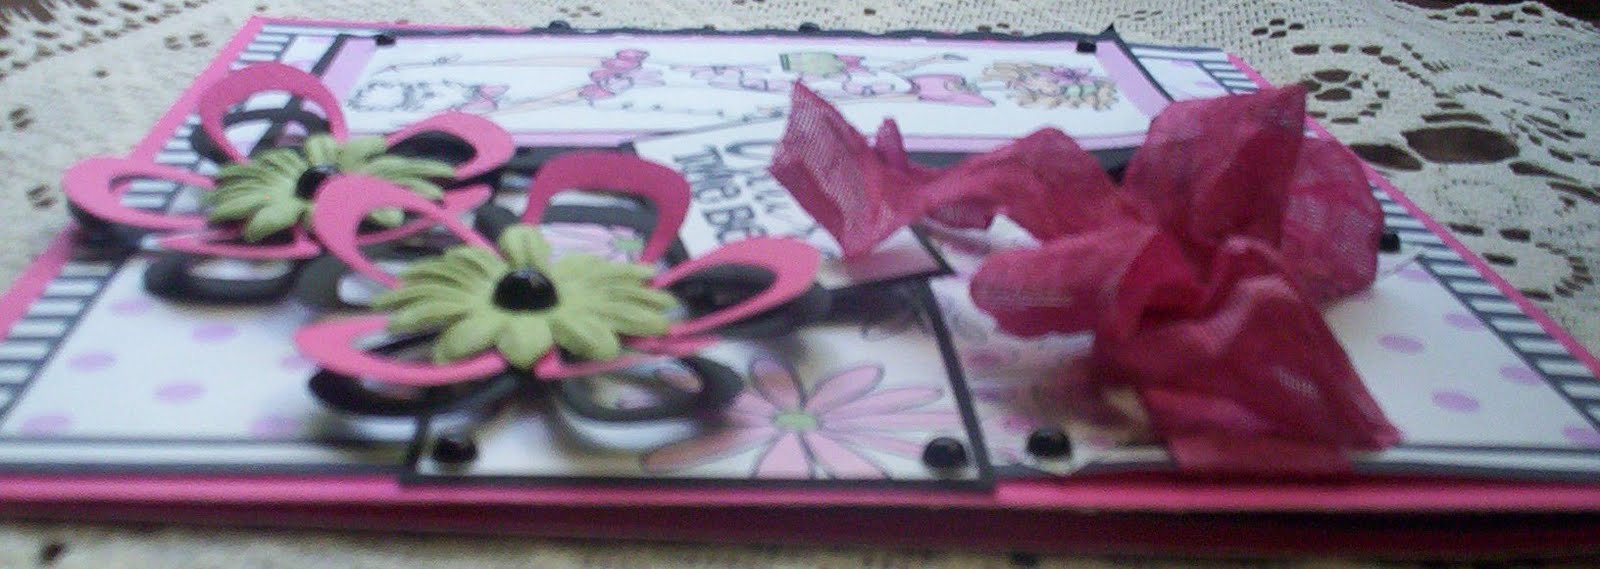
This lovely image is "Lola Rose, So Chic" from Pink Petticoat.  I colored her with Copics, and raised her up on pop dots.  All the papers used are also from Pink Petticoat.  Flowers made with my new Big Shot (thank you Melanie and Julia!! xo). The die is "Flower Blossom" and came with the machine.  I used the soft green flowers in the center for contrast; they're "Spring Flowers" from Hero Arts.  I used my Copics to "dye" the seam binding tape (made into a bow and ribbon) I purchased at my local scrap shop:  Memories of Time.  I added black shiny half pearls (can one ever get enough of them??)  The sentiment, "You're the best," is from Paulette at Create with TLC.  It's from her Thank you x ten set.

Here are a few other shots to let you see it from other angles. 


The card was made for Melanie and Julia (and Wayne, too), to thank them for the wonderful gift they gave me.

Thank you for stopping by my blog today!  Be blessed!! <3

Sunday, May 22, 2011

YOU make good times gooder!

I made the card using two layered digi's.  The little gal and her puppy and the background are from Di's Digital Downloads.  IF  you click on that link, you'll see she's offering a darling and demure freebie for you to snag today.  Be sure to thank her too!!  I colored with my Copics!


The sentiment is from Paulette at Create with TLC.  I thought it was perfect for   this cute little pair!  The paper is from October Afternoon.  I added "blinged" flowers and leaves from Jolee's Boutique and a piece of seam binding from my sewing stash.  Of course, I had to add Stickles, too!


Thanks for wandering by today to have a peak.  I pray you have a blessed day!!

Friday, May 20, 2011

Isn't she lovely?


I just love the vintage look and this Sarah Kay suits me perfectly!  She's old fashioned and so adorable!  I've purposefully left off any sentiment, as I do like to do that on some of my cards.  The background papers were purchased from Nitwit Collections.  This one is  called "Promises" and I loved the colors!! The flowers and butterfly were hand cut and applied from the same set, then I added the half pearls.  I used a bit of lavender Stickles here and there as I do love the sparkle!!  Leaves are an EK rock fern punch.  Other punch used along side of image is an old Fiskars punch (sorry, I don't know the name) I've had for years!  I also added a bit of old lace from my own collection.


Thanks for stopping by today!  Have a beautiful day!!

Thursday, May 19, 2011

Sharing something different today...

I'm sorry my post is a bit later today, but I wanted to offer something different!!  I hope you like what I've chosen!!  I love to make these cute little tissue holders for gifts when some one I care about is fighting the crud or a cold.


It's a thoughtful and practical little gift you can pop into a  gift basket or just into a cute little bag.  It's a tiny gift and a card all in one.  Every time your friend or loved one looks at it, the sentiment will remind them that you care!  I try to make several at a time and keep them on hand; especially during flu season!  LOL

I used graphic images to design my boxes, but you could just as easily make it with purchased pre-printed, double-sided card stock from your local scrap shop.  The card can be made the same way with added colored digi images.  The possibilities are endless!!


Instructions using pre-printed, double-sided card stock:


Supplies needed:

  • One 12" x 12" piece of double-sided, pre-printed card stock
  • One 3 3/4" x 2 2/4" piece of solid color card stock that coordinates with your printed piece (or the back side of the double-sided card stock that you used to make your box.)
  • For your tag, you'll need a piece of card stock cut to:  3 3/4" x 3/4" 
  • Scissors or rotary trimmer
  • Score Pal (or other means of scoring)
  • Your favorite glue or tape (I use Zip Dry or Score tape)
  • 1 small pocket tissue packet
  • A craft knife
  • Brads to hold tag to front of box, pop dots, and other embellishments, as desired
  • My free template, if desired.  Please email me @ safe.harbor@charter.net (until I can figure out how to link them; I'm just learning as I go here!  LOL )
Cut your double-sided card stock 10 1/2" x 4 1/8"


Slide your cut piece into your Score Pal so that the long side is across the top of your board.  Score from left to right at:  1", 3 1/4", 4 1/4" and 61/2"


First try fitting your cut and scored piece of card stock around your tissue packet to make sure you know how it's going to wrap around the packet.  Place your card stock on your work space wrong side up and the longest, un-scored end (the 4" end) at the top, then place the tissue packet on top of your card stock with it's back side up against the last score at the top of your card stock.  IF you've done this part correctly, then the box that encloses the tissue packet should fold up and over the box and tuck back behind your packet.  The 4" un-scored end piece will stand up and hold the card you're going to make to cover that area.  (see photos).  DO NOT assemble and glue at this point!!!


Using your craft knife, cut a slit in the top of the box (see template) so that a small piece of tissue can be pulled through.


Make the tag for the front of your tissue packet: using a stamped message or print it out, or hand write it, if you wish.  I used brads and applied them to the tag only, then attached the tag to my box with Score tape.


Now you are ready to assemble your box.  Apply glue or tape to tab where labeled, then adhere to  back of box (you'll know exactly where to do this if you practiced first as I suggested.  ;) )


Your now ready to make the card that will adhere to the flap that is standing up behind your tissue box.   Design it as you would the face of any card you've made.  Add sentiment and a cute digi!!  (Maybe the one I used to decorate my get well card posted on the 12th.)  Once your wee little card is ready, adhere it to the standing flap behind your tissue box.  Voila!  Your sweet little gift is complete and ready for gift giving!


Please email me for the templates:  safe.harbor@charter.net (until I can figure out a what to link them).  sorry... I'm just learning this stuff as I go.  LOL


Thanks for stopping by today.  I hope you will make some of these cute little tissue boxes.  I would love to see any that you make!!  Please do email me with yours!!!  I will share them here for all to see and give credit.  IF I can figure out how to add a link for you to post it yourself, I will!!


Have a wonderful day!! xoxo