Showing posts with label GRAPHIC 45. Show all posts

Thursday, January 12, 2017

More fun with templates!

Yes, I'm still enjoying making
albums, but this time I added a box.

I used Jennifer Harrison's
(Jen of Eve Designs)
 "Keepsake Box and Mini Album" templates

you can find them here on Etsy.

The templates come with printable base pages,
pockets, flaps, belly bands and tags and are
super easy to
use to create a project using
whatever DP you want to use!


(please click on photos to enlarge them)

I made the large box and album

The album has 3 base pages.

Front of box

 This box is 7 1/8" x 6 3/4" x 2 7/8"
 
Box with lid open,
revealing the mini album inside

Album sitting in front of box lid
The album measures 7 1/8" x 4 1/2" x 2 1/8"

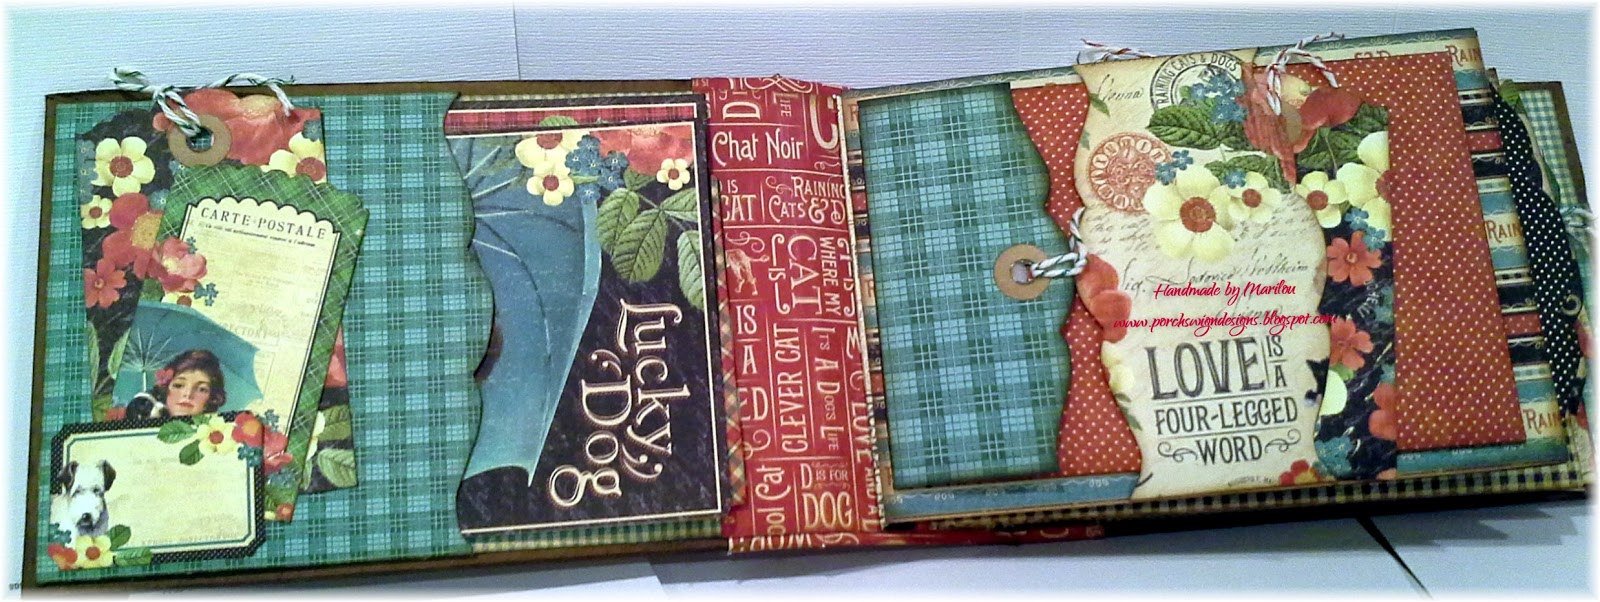
Inside front cover (pocket) and first page.

On left, is a flap which covers most of the
back side of the first page.  On the right, is the
front of the 2nd page of the album.

On the left, you see the flap is now open, revealing
that back side of base page 1.

This is a close-up of the front of base page 2.


Base page 2-B and 3A


On the left is the back of base page 3.
On the right is the inside back cover with a belly band.


I made this album to house photos of our

fur baby, Riley, who is now 2 years old now.  Riley is a toy poodle
who grew to be an oversized Toy.  ;)

This album has plenty mats, tags, and inserts to hold
plenty of our photos of Riley!


You'll find Jennifer on Facebook, here.
You will find her YouTube channel, here.
Thank you for taking the time to check out my blog!

⊰⊹✿ Marilou ✿⊹⊱

Sunday, November 20, 2016

An album made using templates!

I've been having so much fun making
albums lately!  Last month I shared a flip book
I made using templates from Jenofeve Designs.
I've now made several of them.  :)

I purchased "Stack the Page" album templates from Jennifer
so now I've been making albums, too.  She makes it so easy to build and create albums
and I'm thrilled to have found them!!

Link to Jennifer's Etsy Store
and her templates here.


I made my first album with DP from
Graphic 45: By the Sea Collection.
The album measures 6 5/8" tall x 4 7/8" wide.
The spine is 1 1/2" wide.


NOTE:  This album and another now for sale on my blog!


**Please click on photos to enlarge them**

Front cover

To give it some texture, I cut out the image
of the woman and layered her over
the base cover, and then did the same
with the shells.
The cover is sealed with Ranger Multi Mat Medium.

The album has six double-sided pages
( and it contains several pockets, flaps, 
inserts, tags, and booklets.  I left lots of room for
photos and journaling.


Inside cover and first page
The inside cover has a pocket which contains
a booklet with 4 sheets of paper to journal on
and a cut-apart from the collection.  I did some stamping
on the cover of the booklet and on the first page of the booklet.

The first page has a pocket with an envelope
which contains a double tag.

 
Second and third pages

On the left, you see a stamped pocket
which contains an envelope with a small booklet.
The booklet has four pages of paper on which to journal.
There is, also, a cut-apart tag from the collection.

On the right, under that belly band, are 3 small
envelopes, each containing a small insert for
photos or journaling.

There is a tabbed booklet (with paper for journaling)
in the pocket which sits between the third and fourth pages.

Fourth and fifth pages

On the left (page 4), is a flap with an embellished paper clip.
When you open the flap, you will see a cut-apart tag
from the collection and plenty of room for photos.

On the right (page five), you can see a pocket
with a flip tag and in the pocket
is a cut-apart tag from the collection.

Sixth and seventh pages

On the left (page 6), is a blank page for a photo,
if you desire, or to leave as is for the beautiful
images in the paper.

On the right (page 7), I left this blank as well.
I just couldn't cover that beautiful paper!  :)
I did add a flap, however!

Between pages six and seven,
I placed a tabbed booklet (with journaling paper).


Pages Eight and Nine

On page eight, there is a tuck spot with
a cut-apart tag from the collection.

On page nine, you'll see a blank page
with an embellished paperclip.

Pages Ten and Eleven

On page 10 is a pocket containing an envelope
which contains a double tag.  Behind the envelope
is a cut-apart tag from the collection.

On page 11, you can see a belly band holding
two small envelopes and a tabbed booklet
which contains paper for journaling.

 Page Twelve and inside back cover

What you see on the left, is a flap which
has an envelope and tag on it.  Once you open the flap
you see a cut-apart tag from the collection
 The opposite side of the flap has Designer Paper on it.

On the back cover, there is a tabbed booklet
with paper for journaling in it.

Thank you for stopping by to see what I've been making.

I will be back shortly to share another album!

⊰⊹✿ Marilou ✿⊹⊱

Tuesday, October 18, 2016

Fun with templates!

Hello, Friend!

I love to watch YouTube videos,
just in case you didn't know that.  ;)

One night I found a something that I got really excited about!
I discovered "jen of eve Designs"
and the wonderful templates Jennifer creates
to make lovely gifts and albums.

Let me share with you what I just completed.

It's called a "Flip Book" and here's my take on one:

Front Cover

**click photo to enlarge it**
Inside front cover 

This is the middle of the book

This one shows all the flaps opened up on inside


Same shot, but with flap 2nd from left lifted up
to reveal what's under it. 
Inside back cover

Back cover

Tags and crafty "goody" bags I made to insert into this book
and gifting to a long-time crafty friend


About Jennifer:  (from her YT channel)
"One of my favorite things to do is design and develop printable
 albums and templates for you to print and make with ease!
  All of my printable albums and templates are made by hand
by me, not digitally!  I am very proud of them
and I am constantly working on a new idea
to bring to you all!!

**

I like them because they are so versitile and easy to use.
You can either print them directly to your DP preference
or print them on plain cardstock and mat them yourself.

Start by checking out
Jennifer's YouTube Channel here.

Jennifer sells her templates here on Etsy.

Jennifer's Facebook page here.

She has lots of crafty tips and tricks to share with you, too!!

Have fun!!

Thanks for stopping by to see what
I've been up to!


⊰⊹✿ Marilou ✿⊹⊱

Thursday, December 26, 2013

A Tea Light Lamp

Yes, Merry Christmas to YOU!

My Christmas was awesome,
because I was with part of my family
(and will be with more next week)
and with my guy, John.  He proposed to
me, on Christmas day, and I said YES!!

I'm sharing a Tea Light Lamp and card
that I created for a recent class at my LSS
Memories of Time.

The lamp was created using some gorgeous
papers from my favorite company,
Graphic 45, and it's called "Twelve Days of Christmas."

The lamp itself was created using a cutting file
from SVG Cuts, called
Maison de Madeline Collection.

*Please click on the photos for a larger view*

Close-up of floral detail

Card size:  4.25" x 5.5"

Dies used:
Sizzix Framelits, tags, fancy
SpellBinders Poinsettia

Punch used:
Martha Stewart's Cherish

Ink used to distress edges:
Ranger Vintage Photo

I hope that you had a Blessed Christmas
Happy New Year!╰⊰⊹✿ Marilou ✿⊹⊱

Friday, May 24, 2013

Sweet Friend Pocket Card and Matching Box

I thought I'd share with you what we made
in the class I taught today 
at my local
scrapbook shop, Memories of Time.


We made the pocket card,
complete with a tag and box.

Card and box ingredients:

Card size:
 5" x 7"
Box dimensions: 1 7/8" square x 5 1/8" tall

DP used:
Graphic 45 Little Darlings Collection "Precious Posy"

Stamp Set used:
JustRight Grand Sentiments

Dies used:
SpellBinders Decorative Labels 8 and Labels 8
Cheery Lynn:  B117 Fanciful Flourish
SpellBinders Donna Salazar Rose Creations

CuddleBug Folder used:
Dotted Swiss

Other tools used:
Big Shot
Martha Stewart Mini Score Board
Taylored Expression metal adapter shim
Tonic Large Base Guillotine Cutter
Tonic Handy Guillotine Cutter


Tutorials that inspired this class project:


I had 7 amazing women in class today
and it always delights and excites me
to see what creative things they do
to make each project
their very own!

Thanks for attending Gals;
well done!!

...and to you, my blog followers,
thanks for stopping by!

╰⊰⊹✿ Marilou ✿⊹⊱


Friday, March 15, 2013

A card of a different sort to share....

Hello!  I'm so pleased you wandered
by my blog today.

I have a card to share that was
created for a class I taught on Wednesday, 3/13.

The base and inside of the card was made
using an Accucut die and looks
like Chinoiserie.

I didn't know what they were called
until one of the gals in the class
(thanks Gwen!)
shared the name and told us a bit
about Chinoiserie history.

The papers used to make this card,
are from Graphic 45
 Bird Song Collection.

The image on the front was fussy cut
from the collection, then glued to black
card stock, then fussy cut again,
and applied 
to the screen with pop dots.

The closure is with a magnet.

*click on the photos to enlarge them*

Once you lift the magnet closure,
and open both sides of the card,
this is what you see:

This card is embellished with an Asian medallion and a tassel
on the right side, and a sentiment spot on the left.

In the middle of the card is a beautiful water scene,
from the Bird Song collection.  The
flowers have been enhanced with Stickles.

The Accucut Die used:
Shadowbox, Landscape 1 and 2

Thank you for dropping in
to see my latest project!

God Bless your day,

╰⊰⊹✿ Marilou ✿⊹⊱

Monday, December 24, 2012

Merry Christmas!

Wishing you a Merry Christmas
and a
Happy New Year!

 I'm sharing a fun little gift idea with you today.
I recently taught a class on how to make
these quick and easy totes,
complete with 4 - 3" x 3" note cards and envies,
and a Post-It note holder.
We couldn't go wrong with this gorgeous G45 paper
and the great stamps we used!

I used 4 different stamps from the "Our Craft Lounge"
stamp set called, "Oriental Garden."  They
were perfect for the size of these little cards.


I've made many, many of these totes, and when I do, I usually
make 10 at a time so that I have them around
for emergency gift giving.

I'm sharing a link here for instructions
and a video tutorial, so that you
can make them as well.

You may have to join Splitcoast Stampers
be able to see them.

*****

DP:  Graphic 45:  Bird Song Collection.

If you have any questions, please leave a comment
and I will reply asap.

Thanks for stopping by to see what I've been up to!

╰⊰⊹✿ Marilou ✿⊹⊱


Monday, October 29, 2012

Graphic 45: A Ladies Diary

Hello dear friend!
I'm so thrilled that you stopped by my blog
today, as I have just completed a huge project
and I can't wait to share it with you!!

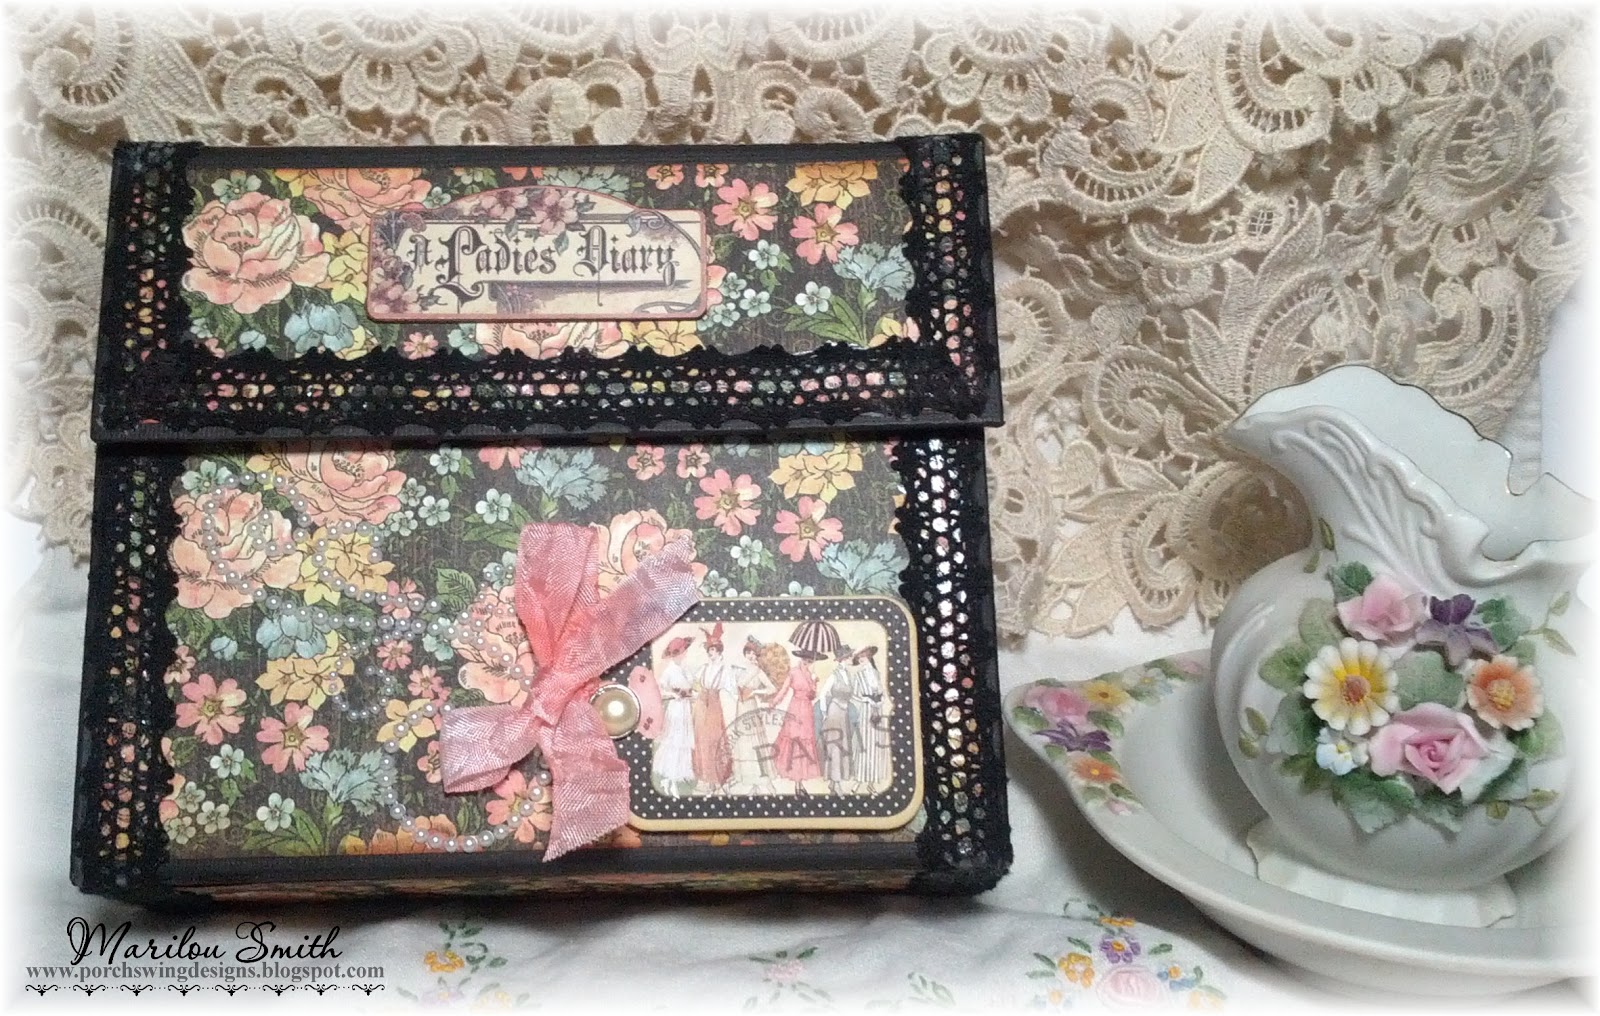
This is my Graphic 45 "A Ladies Diary Journal in a Box"
and I have loads of photos to share with you today,
so grab a cup of tea and settle in for a bit!!

I know I've already mentioned, many times,
my great love for all things vintage, right?  LOL
Well, I wandered into my favorite scrapbook shop,
Memories of Time, one day and I know my mouth
must have flown open when I
saw this gorgeous paper collection by Graphic 45!!
I was immediately smitten and knew
another album was in my future.  =)

THEN, when "wandering" through YouTube,
I found an amazing tutorial by
"Angelwings14100" aka Marianna
 with
instructions for making this journal!!
SCORE!!  :)  

SO, this is my version as it appears
from the front.  It has magnet closures
to hold the two flaps together.

*All the photos are clickable*


When it's opened up, it reveals three flaps
with pockets that hold "tag pockets"
with tags in them.  I've removed the tags,
for this photo, so you can see the basic album.

The light blue area on the right is
the outside of flap #1 and
the light blue area on the left
is the outside of flap #3.  Flap #2 and #3
have a ribbon closure.


With flap #1 open, you can see the inside of it,
and the vertical pocket, with a vintage lady 
I fussy cut and placed on it.  
The pocket holds an address book.


This photo shows you the inside cover
of the Address Book and it's first page.


On the left is the peach inside of flap #3,
and the area with the beautiful lady dressed
in light blue and peach is the outside of flap #2.


With flap #2 and #3 opened up, you can see that
within this area is my tag journal/diary.  I'll show
you more of it further down the page.  =)


Now let's look at it with the tags in place.

Here's the inside of flap #3
with it's tag included.


Here's the outside of flap #3 and inside of flap #2
with their tags included.


This is the vertical pocket, again, with the inside
of flap #1, and it's tag, on the right.

I sure love all the vintage hats!!I'm sorry it's a bit blurry.  :(


This photo shows you the outside of flap #1,
and it's tag.  (Sorry about the glare!)


Now, let's take a closer look at the Tag Journal.
This is the front cover and the Journal is
laced together with glittery cording.


Here's the first page of my Tag Journal.
I used stamps from the collection
to embellish my tags.


Page 3 and 4 of my Tag Journal.
The vintage dress form is a Silhouette file.


Pages 5 of my Tag Journal
has a the little envelope (and it's tag)
that I made using my Silhouette.
Page 6 is a pocket envie that holds
a tag on it's side
and another one on the other side


Page 7 is the other side of the tag pocket
and can be used for photos or mementos.

Page 8 is a pocket
with Library due date tags in it.


Page 9 has another envelope and tag
made with my Silhouette
and stamped with flourishes. 

Page 10 is a pocket holding a tag with
the peach border and ribbon on it.  The face
of the pocket is another opportunity
for a photo placement.
Although I'm not sure I want to hide the
beautiful papers!!


Page 12 is a handsome vintage
gentleman striking a pose, and will stay
just like that!  ;)

Page 12 is another tag donning
a seam binding ribbon that I dyed
with my Copic Markers.
I did both the peach and light blue
ribbons the same way.

Somehow, I missed photoing
Page 14, but it's a simple photo
or journaling spot.


~Last of all, I've photo'd all the tags~

From the Album:


And from the Tag Journal:

Box Album size:
Closed:  7 1/4" wide, 6 1/2" tall and 2 1/4 deep.
Open:  24" wide (with flap #3 open) and 7 1/4" tall.

Cardstock used to create my album base:
Bazzill Linen in Raven

Patterned Papers used:
Graphic 45:  A Ladies Diary Collection

Stamps used: from the same collection

Stickers and Chipboard pieces:
from the same collection

Embellishments
Hand dyed Seam binding
Black Lace (from MOT)
Black Ribbon for tie closure
2 - 1/2" magnet sets
American Crafts Pearl Brads

Dies:
Impression Obession Dies - DIEO 17-V

Punches used:
Martha Stewart Punch around the corner
Eyelet Lace
Tonic Studio Corner Punch

Tools used:
Silhouette
Big Shot
My Computer
Microsoft Digital Image Pro 10
HP PhotoSmart Printer

I owe BIG thanks to 
Mariana Brulja
from Australia
who made a wonderful YouTube Tutorial
of her "Album in a Box" and
then made two additional
tutorials with instructions to make it!!

Please take a look at her's!!
http://www.youtube.com/watch?v=ZpuiLx-bH_E&feature=relmfu

Tutorial 1:

Tutorial 2:

Please NOTE:

Her dimensions for the flaps
in the tutorials, are incorrect.
I spoke with her by email,
and here's the correct sizes:
Flap #1:   6 3/4" x 7 1/4"
Flap #2:  6 1/4" x 7 1/4"
Flap #3:  5 3/4" x 7 1/4"

Thank you, from the bottom of my widdle heart,
for stopping by to see what I've been making!

I hope your day is blessed!

╰⊰⊹✿ Marilou ✿⊹⊱